Table of Contents
Custom fields
Custom fields give you the possibility to add further information to your test objects or issues. The custom fields can be filled out when creating a new test object or while adding a new issue to a test object. This can be done by adding the right custom fields to certain test object types. Custom fields can also be filled with information delivered via API and add more flexibility and data-integrity to our solution.
For more information on test object types, please go to Test object types
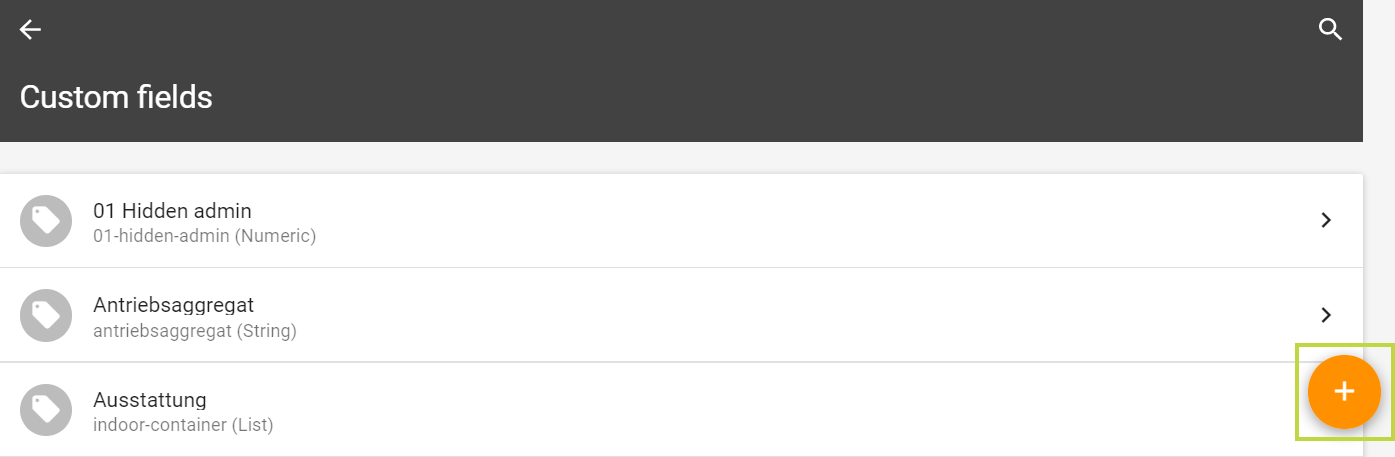
Add new custom field
Via the orange plus icon it is possible to create a new custom field. In addition to a meaningful name, an identifier and the desired data type must be selected.
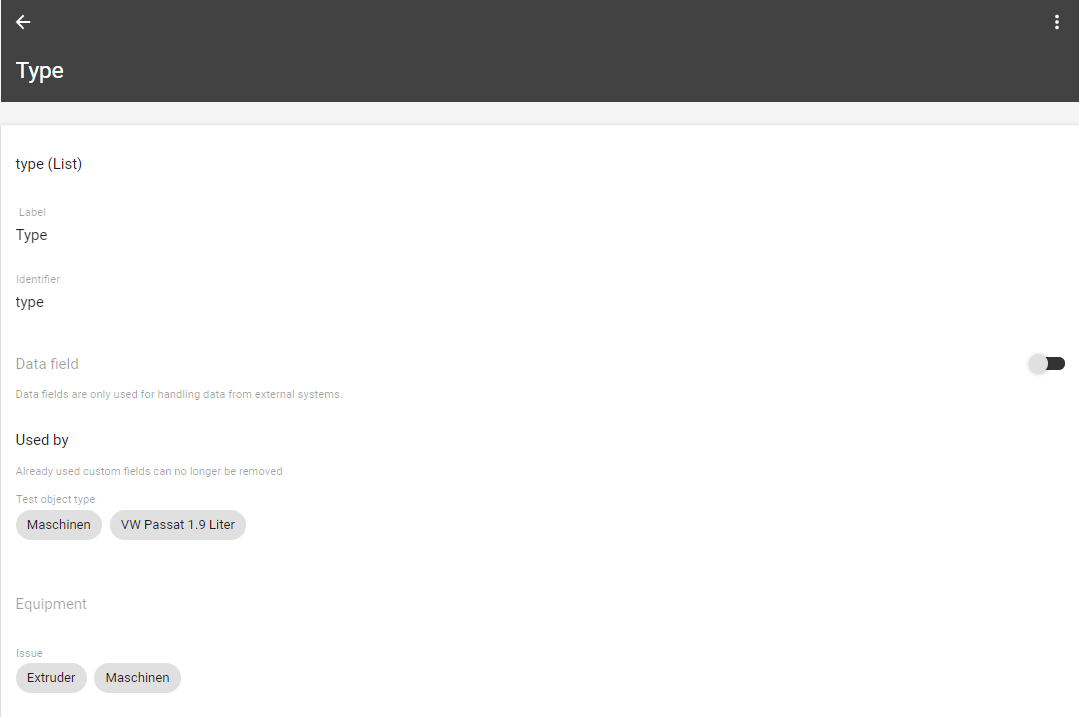
Label: The label defines the custom field.
Identifier: The identifier uniquely identifies a custom field.
Data type: The data type defines the data inside the custom field.
String - any type of text can be entered
Numeric - only numbers can be entered
Yes/No - one of these two options can be entered
Date - a date can be entered
List - a list of optional answers can be defined
JSON options list - lists can also be imported via JSON files
Data field: This allows the custom fields to also be filled with information supplied via the API for even more flexibility and data integrity. This choice gives the system the information, if required data comes from an external system or not.
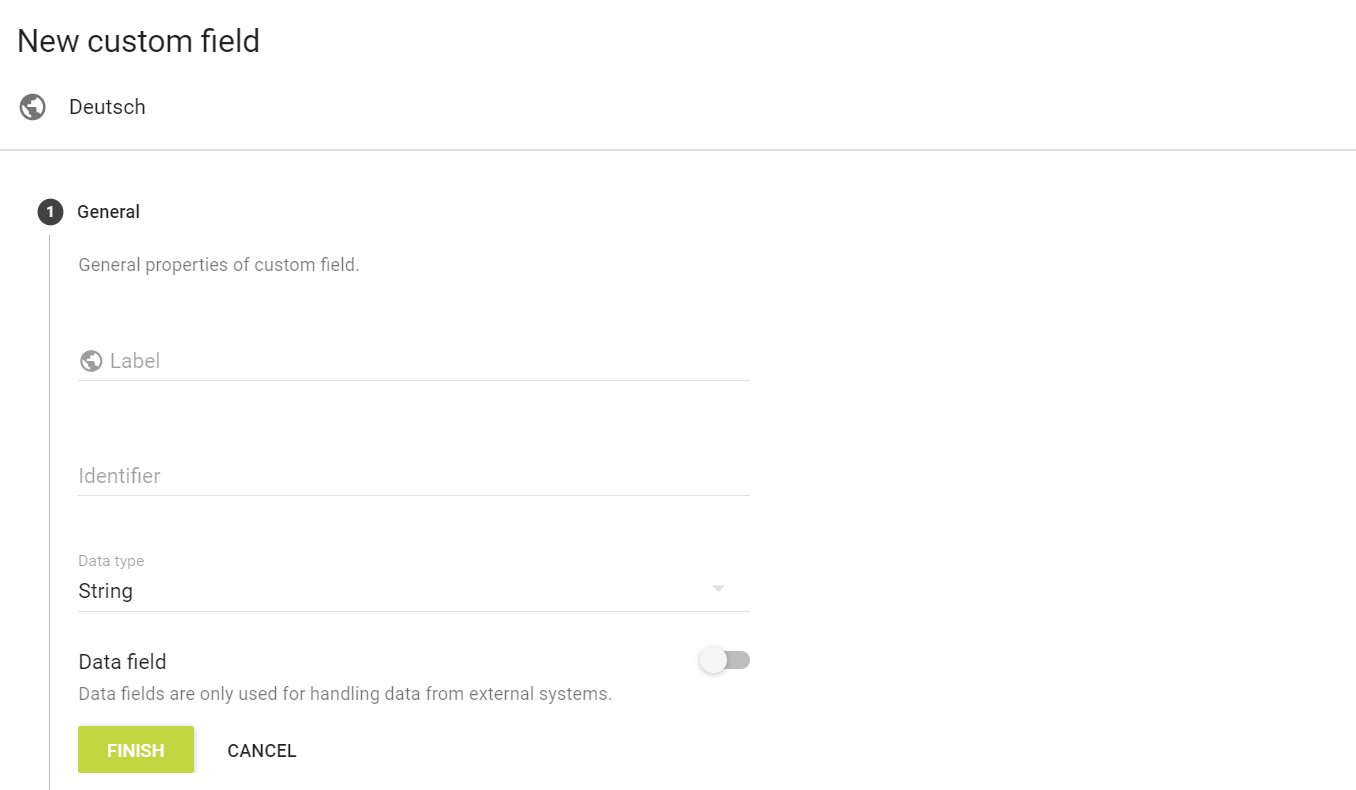
Clicking on "Done" saves the custom field. After that it is possible to use the newly generated custom field and add it to a test object or equipment.
Editing custom fields
After creation of the custom field it can be edited by clicking on the context menu (the three dots) in the upper right corner of the custom field overview. All information from above can be edited.

Use of custom fields
Custom fields offer the possibility to store additional information. This is possible in the following cases:
Test object(type)
Deposit of additional information for a test object within the respective test object type.
Deposit of additional information on the issues associated with this test object.
Equipment(type)
Deposit of further information at an equipment within the respective equipment type.
Deposit of further information about the issues associated with this equipment.
Custom fields can be added and assigned as desired but not deleted.
The overview shows to which test object(s), issues and equipment a custom field is linked.
Export and import of data
Inserting data is possible either directly in Testify by manual creation or by export/import. For more on export/import: Administering Testify
Example test object type
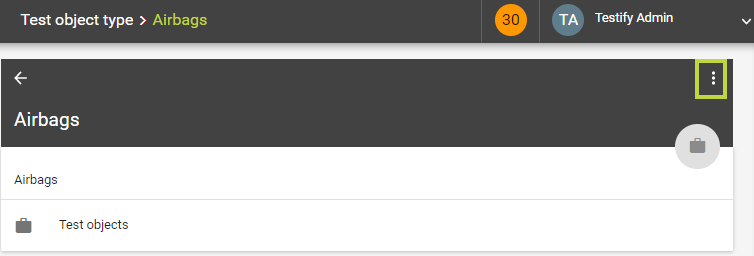
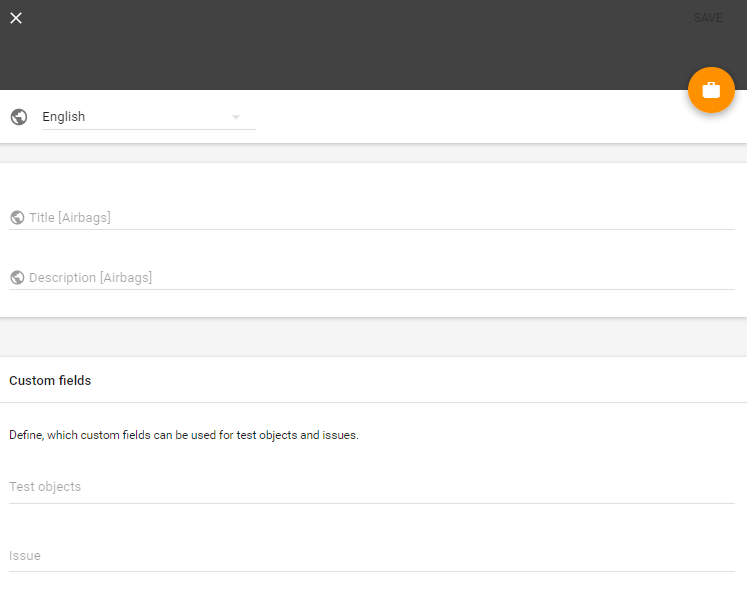
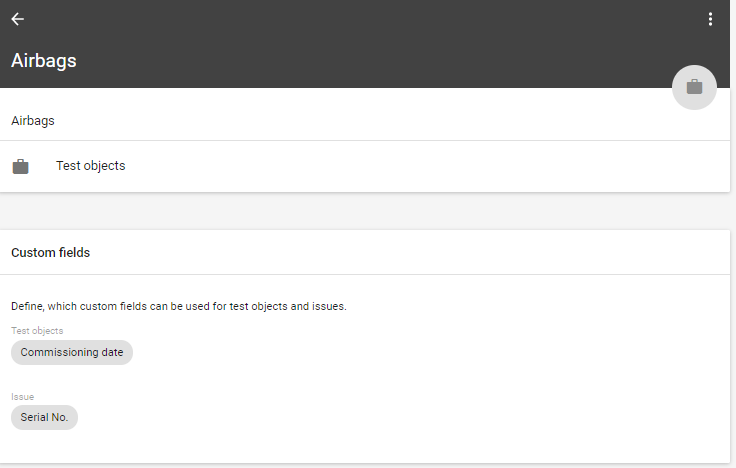
Under the "Administration" and "Test object types" tab, the desired test object type is selected first. Via the context menu (the three dots) in the edit mode it is possible to define custom fields to be used for the test objects and issues.
Adding custom fields to test objects
Then you can select the test object where you want to add the custom fields:
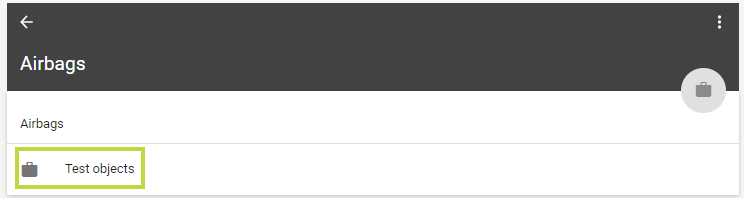

Then you can select the test object where you want to add the custom fields:
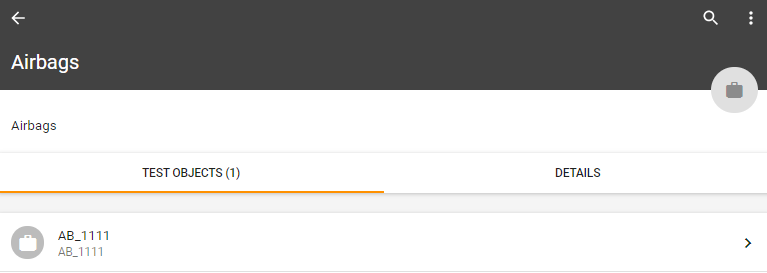
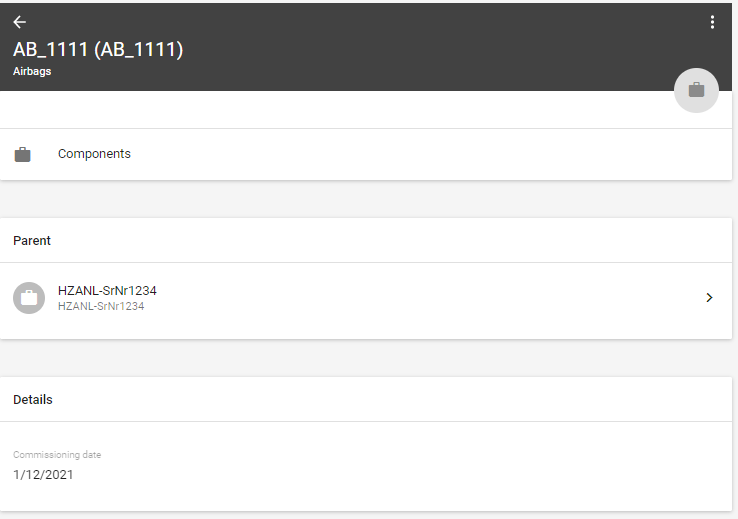
The test object can be edited via the context menu (the three dots):
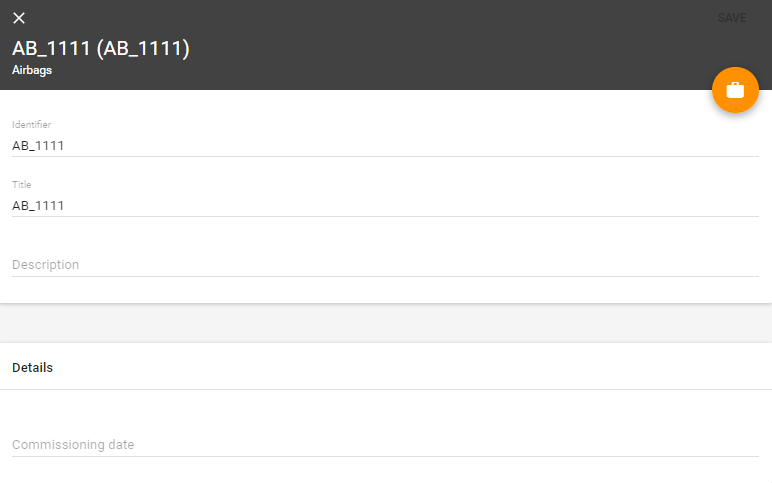
Under "Details" the previously defined custom field is now displayed and ready to be filled in:
View after saving:
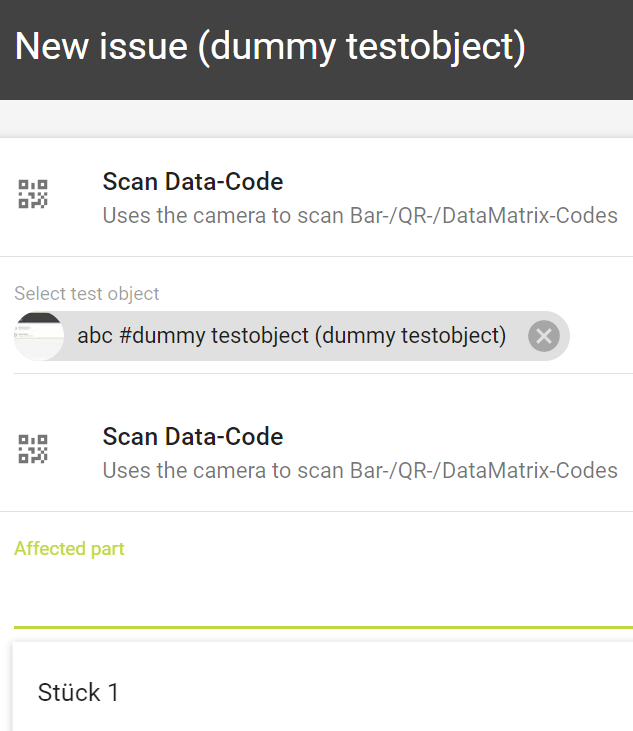
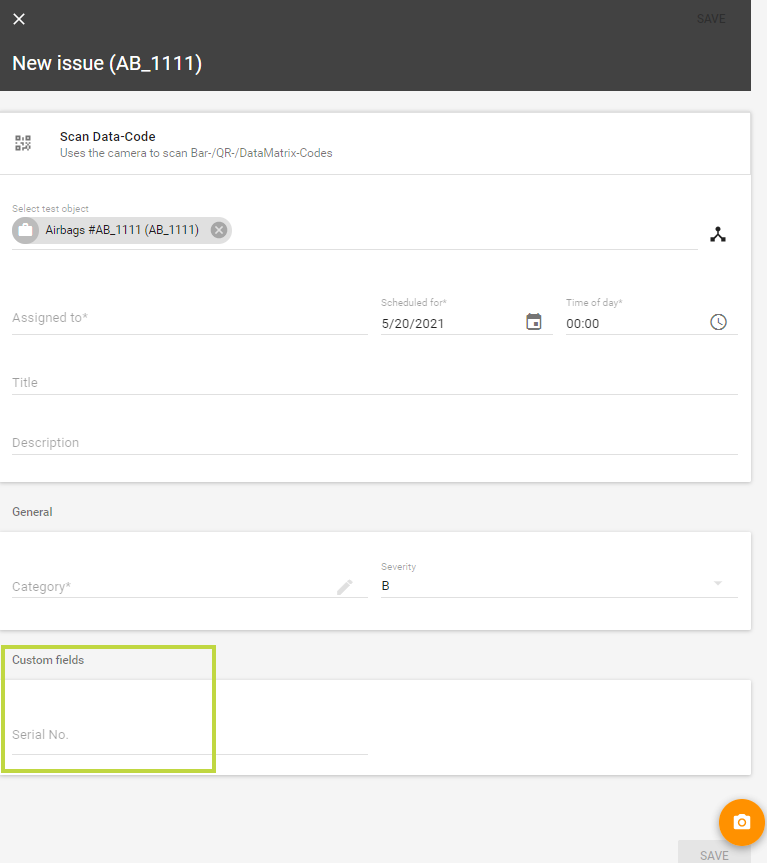
Custom fields for issues
If a custom field was previously defined for a test object, this can be selected when adding an issue.
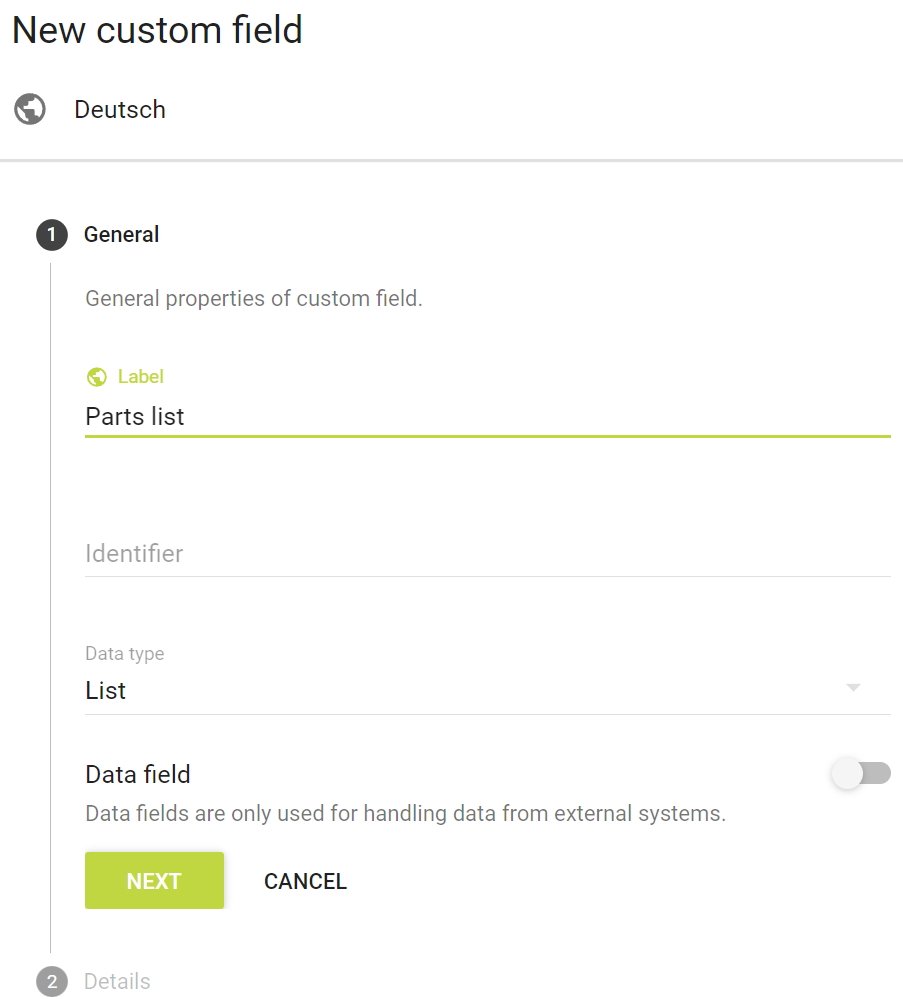
Parts list
A parts list is a user-defined field with the data type "list". Parts lists can be used to add more detail to the parts of test objects. When adding issues, the affected parts can thus be located more closely.