Table of Contents
| Table of Contents |
|---|
After entering the checklist by pressing the orange icon on the bottom right, the user can now work on the individual test caseschecks. Following actions can be taken when working on a checklist:
Add issue to a
test casecheck
There are two options to add an issue to a test casecheck:
Over the context menu of the
check
After a failed check
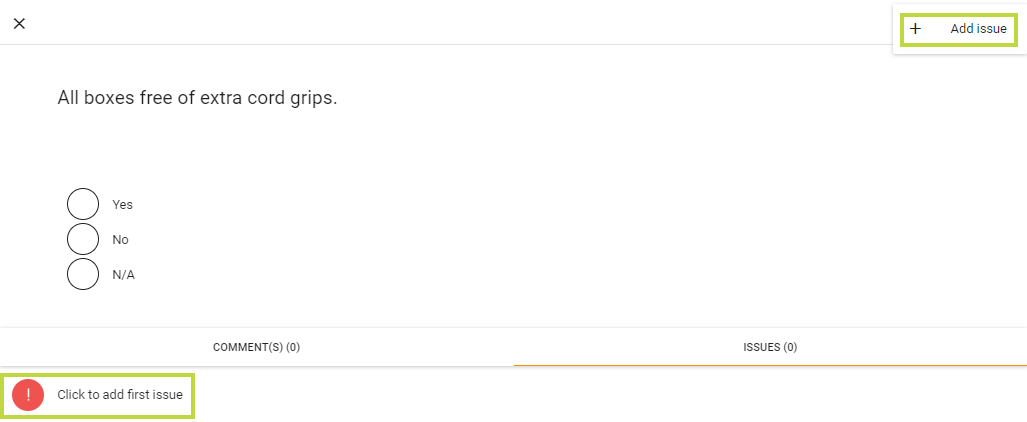
The issue can then be found in the issue search and in the task view of the assigned group/user.
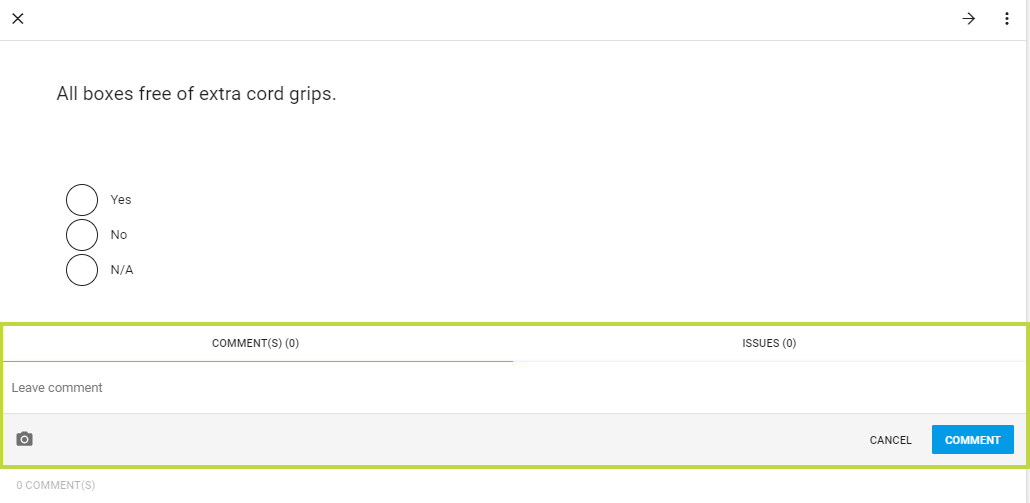
Add comment to the
test casecheck
For each test case check there is a comment section where important information can be added by the person who is filling out the checklist:
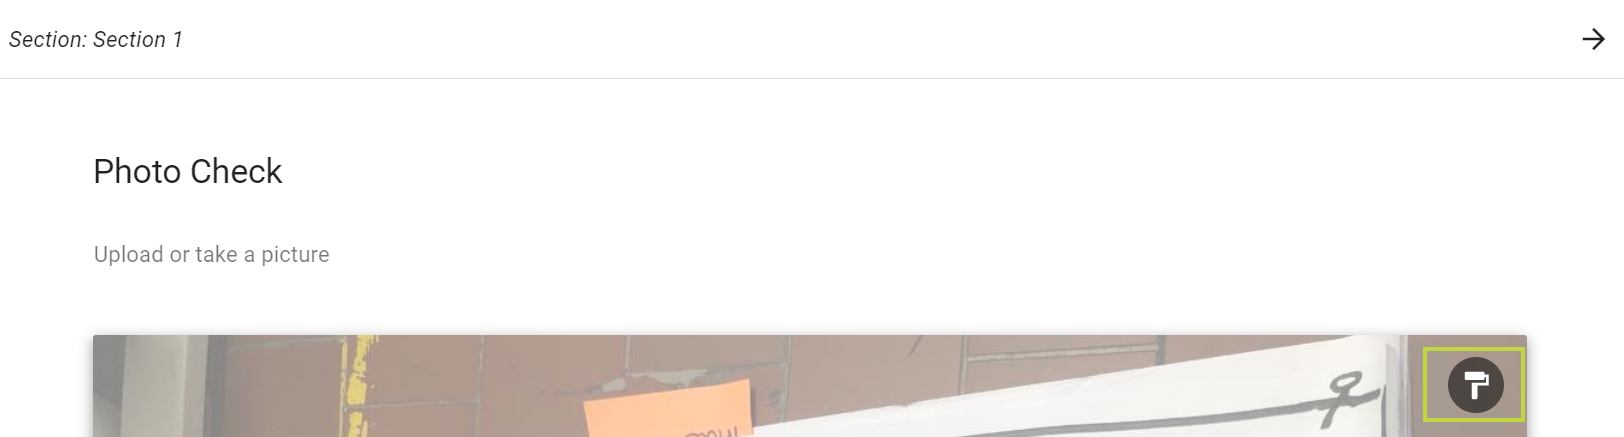
Add and edit photos
Photos can be added to the photo check by clicking on the camera icon. Once the photo is added, it can be edited by clicking on the paint roller in the upper right corner of the photo.
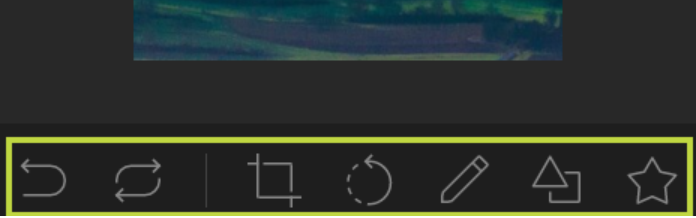
Data size: Up to 4MB no compression, from 10MB automatic compression. In between, users can decide for themselves whether the files should be compressed (or not).
Immediately after the upload, the user can use objects and drawings to point out the desired location. The photo can also be cropped and rotated as desired.
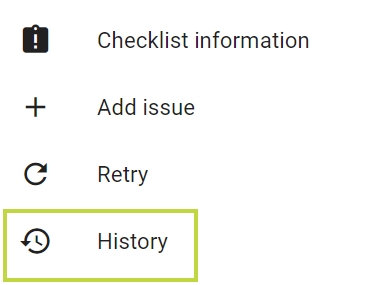
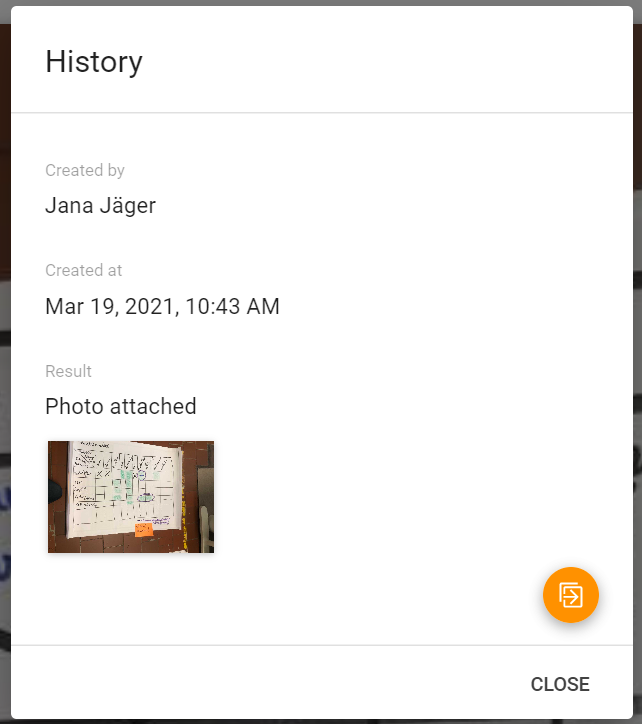
Select previous check result
If a check is repeated several times when executing a checklist, you can use the context menu to select a previous result from the check history and use it for the current check.
Assign / close checklist
At the end of every page within the checklist the user has the opportunity to assign the checklist to somebody else or to close the checklist:
