Table of Contents
Role Management
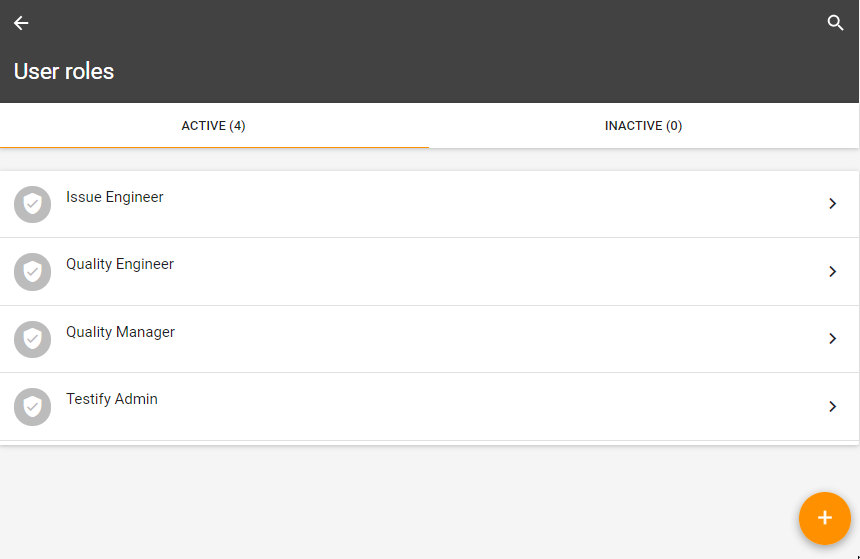
Based on roles, users can work inside Testify within their permissions. Each role has defined permissions that determine the user's scope of action. Testify comes with four predefined roles to enable a quick start:
Issue Engineer with a focus on resolving issues. Can edit assigned issues.
Quality Engineer with a focus on the execution of checklists. Can add and edit issues manually and within a checklist.
Quality Manager with a focus on designing checklists and setting up Testify. Can create checklist templates and assignments, and manually add and edit issues.
Testify Admin with a focus on setting up Testify and all user and company-related topics. Manages users and can manage everything.
It is possible to give a user different roles at the same time. When doing this, he gets the permissions of both roles.
Depending on the assigned role, the menu on the left is restricted accordingly, as only the desired features are available.
Add a new role
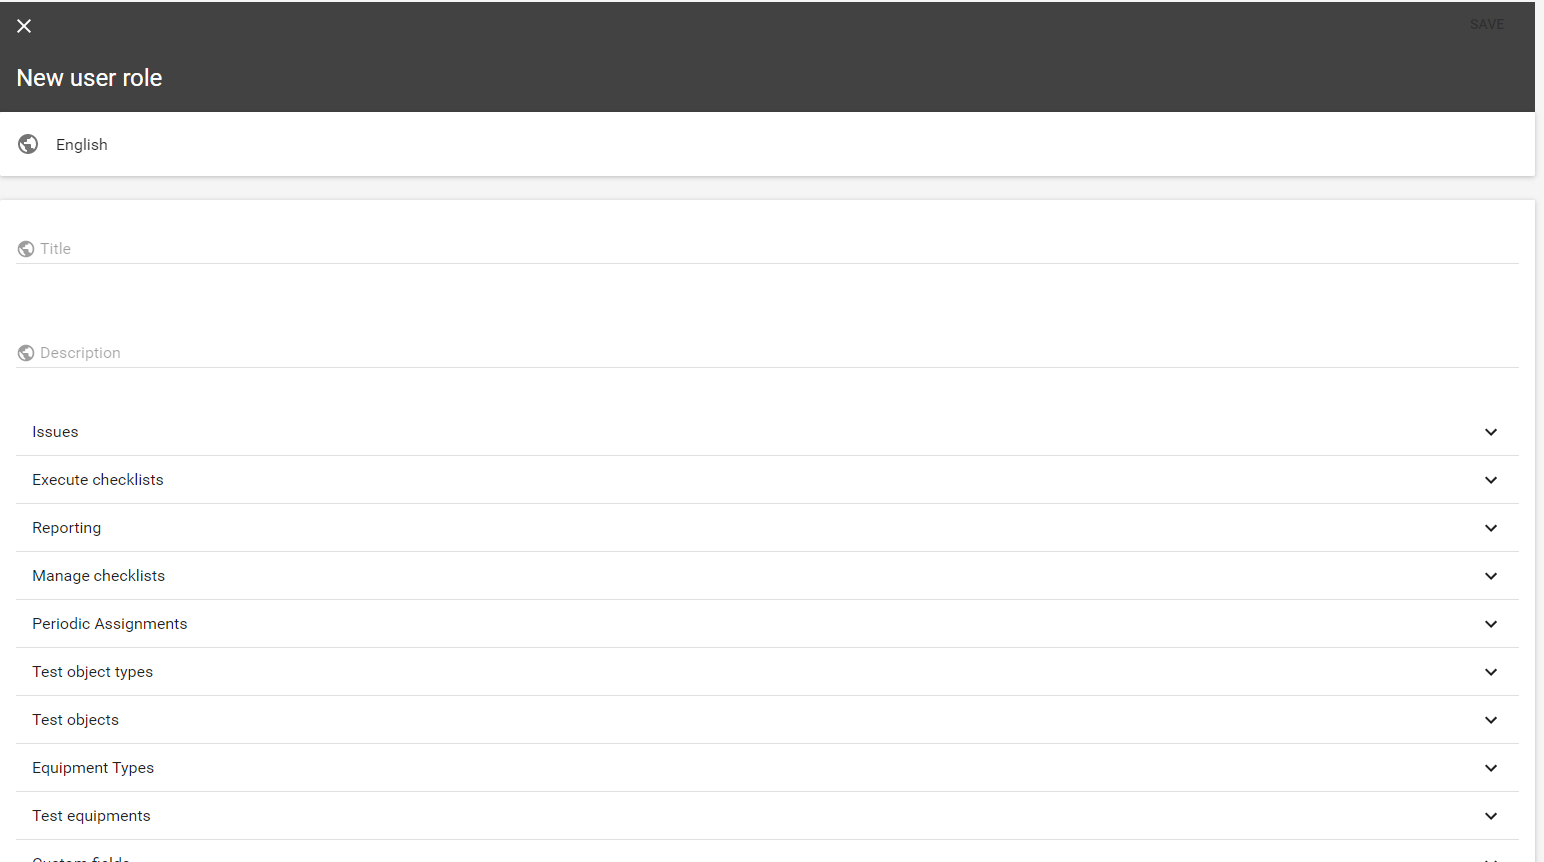
Adding a new role can be done by clicking the orange button in the right lower corner. Custom roles can be disabled, but not removed. When you create a role, you can define the following characteristics:
Title: The name of the role.
Description: In the description, additional relevant information can be added.
Permissions: Here all permissions can be set up into detail. For every action in Testify a permission can be defined. The order of the permissions resemble the order of the navigation menu.
The permission 'Verify issues' automatically activates 'List all issues'
The permission 'Verify checklists' or 'Reopen checklists' automatically activates 'List all checklists'
Edit / disable a role
After creation of the role it can be edited or disabled/enabled by clicking on the context menu (the three dots) in the upper right corner of the role. All informations from above can be edited.